Precision comes from the wet application method: mist glass and decal adhesive with soapy water, position using masking
Bubble-free vinyl decal application relies on the wet application method: spraying glass and decal backing with soapy water, positioning the decal, then squeegeeing air and liquid outward from center. Walls Done Right, trusted by 2,000+ clients, recommends this technique for renters and storefront owners needing damage-free, residue-free results.
What tools and prep do you need?
Proper surface preparation forms the foundation of any successful vinyl application. Even microscopic dirt particles, grease residue, or dust can create air pockets that show through a finished decal. Walls Done Right emphasizes this precision-driven approach, integrating modern design with expert craftsmanship to ensure every installation meets high-quality standards.
What cleaning supplies work best for glass surfaces?
A clean, dry, lint-free cloth paired with isopropyl alcohol or a mild glass cleaner removes all residue before application. The glass must be completely free of oils, dust, and debris. Any missed spot becomes a visible bubble or wrinkle once the decal is pressed down.
Why does the wet application method matter?
The wet application method uses a lubricant — soapy water or Windex — to allow position adjustments and bubble-free squeegeeing. This technique gives installers time to slide the decal into perfect alignment before the adhesive bonds. Without lubrication, the adhesive grabs instantly, trapping air and making repositioning impossible.
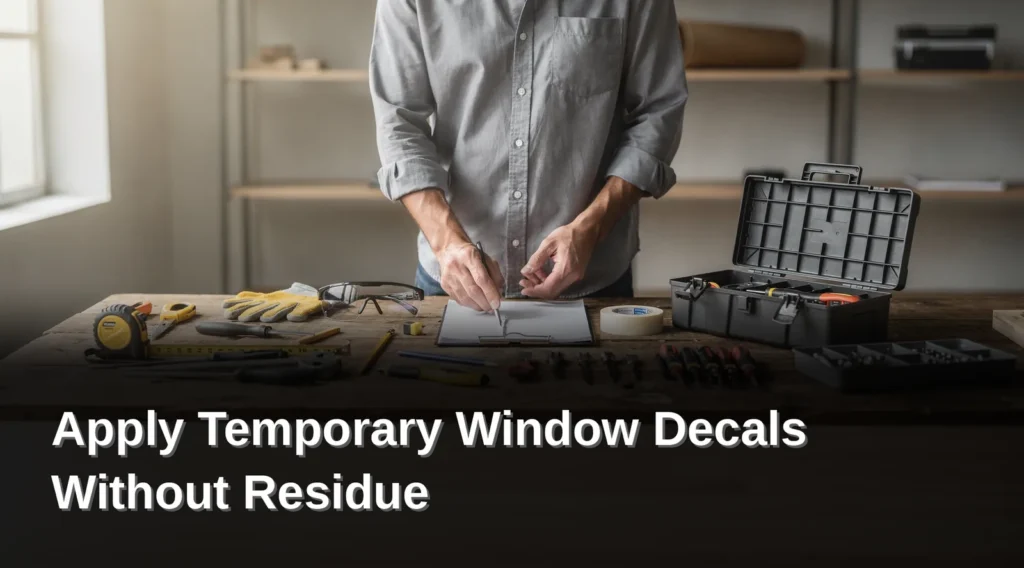
Essential tools for bubble-free installation:
- Spray bottle with soapy water or Windex
- Squeegee with a felt edge (prevents scratching)
- Lint-free microfiber cloths
- Masking tape for hinge-method positioning
- Razor blade or utility knife for trimming
Walls Done Right focuses on high-quality, precision-driven execution with a customer-focused approach, delivering tailored and reliable services that attend to every detail. For renters exploring how to apply temporary window decals without leaving residue, proper prep and the right tools eliminate the two biggest frustrations: bubbles and adhesive failure. The best removable vinyl window decals for renters perform flawlessly only when the surface underneath is immaculate.
How do you apply decals without bubbles?
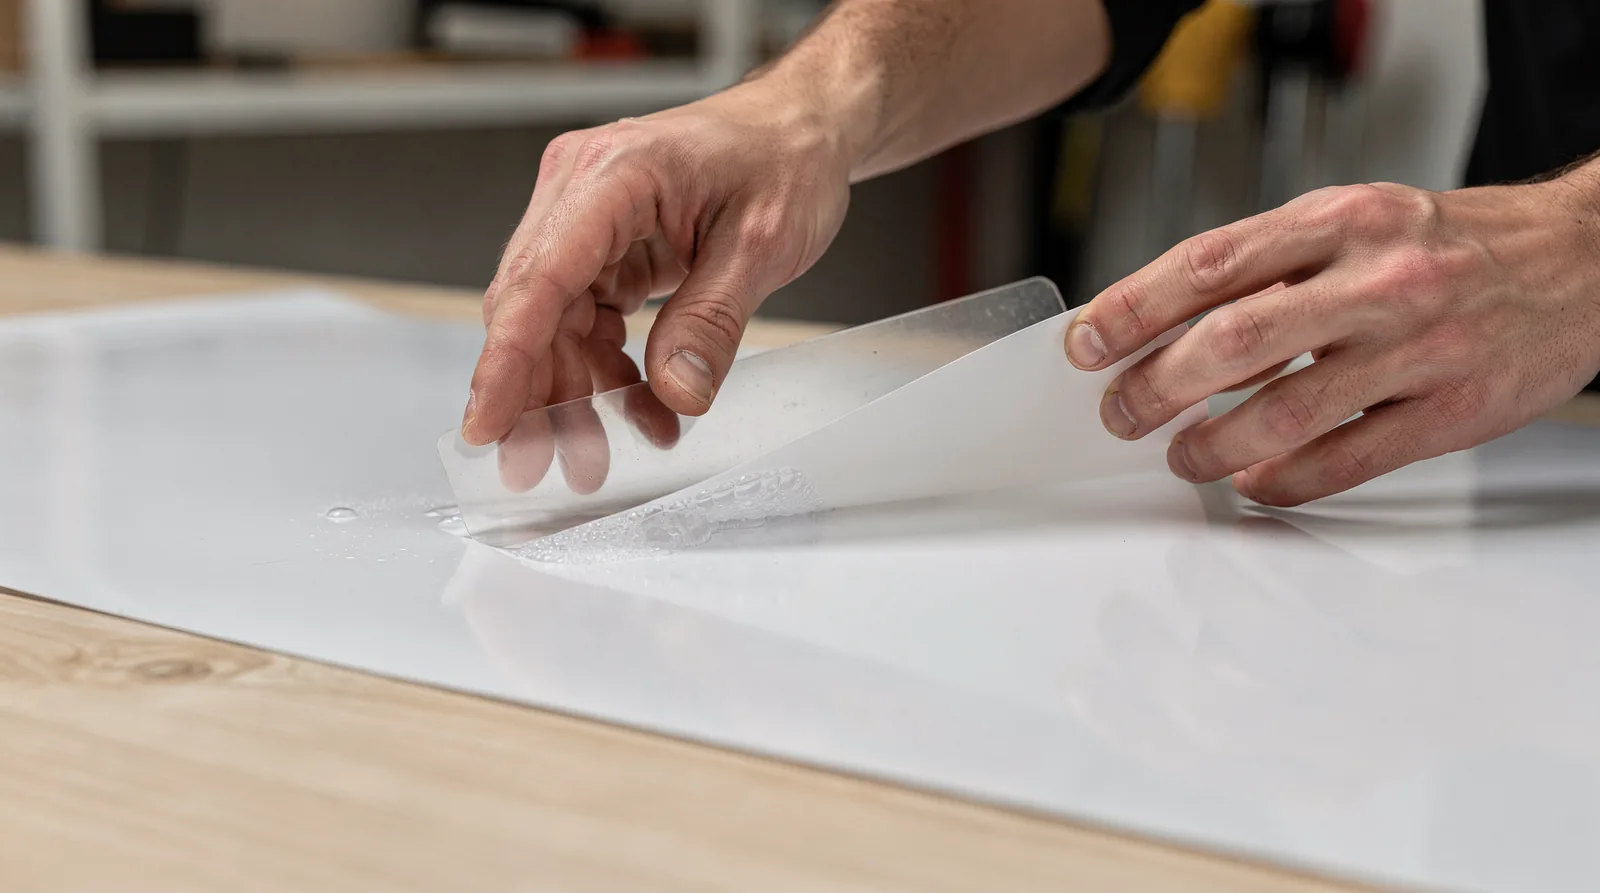
Applying decals without bubbles requires two critical steps: lubricating the adhesive side before placement and using a squeegee technique to push air out during installation. Skipping lubrication guarantees trapped air pockets underneath the vinyl.
What lubricant prevents air bubbles during decal installation?
Lubricating the adhesive side prevents air bubbles from forming during installation. Without a wet solution between the decal and the glass, the adhesive grabs instantly and traps every pocket of air. A simple water-and-soap mixture works as the lubricant, allowing the decal to slide into position before the adhesive bonds permanently.
How does the squeegee technique remove trapped air?
The squeegee technique removes air and excess liquid in one smooth motion. After positioning the decal, a felt-edged squeegee pushes from the center outward toward the edges. This forces air and lubricant out before the adhesive sets. Using masking tape for accuracy during alignment prevents wrinkles before the squeegee pass begins.
How to apply temporary window decals without leaving residue starts with choosing the right vinyl. Removable vinyl window decals designed for renters release cleanly when removed, leaving no sticky film behind. Walls Done Right combines modern design with expert craftsmanship to deliver renovation solutions that enhance both beauty and functionality. The brand is backed by 2,000+ happy clients and maintains a 4.9 average client rating, reflecting consistent quality in every installation.
How to Apply Temporary Window Decals Without Leaving Residue
The difference between a flawless installation and a frustrating, bubble-riddled mess comes down to technique—specifically, the wet application method that professional installers rely on for consistent results. Without the right approach, you trap air pockets under the vinyl and risk peeling paint or sticky adhesive when removal day arrives. For renters, this mistake costs your damage deposit. For storefront owners, it means a marred storefront that screams “amateur.” Walls Done Right combines modern design with expert craftsmanship, and this guide shows you how to apply temporary window decals without leaving residue using the same precision-driven process.
Prerequisites Before You Start
Gather these tools before touching the glass, because pausing mid-installation invites dust and dirt to settle on your fresh surface. You need a spray bottle filled with water, a few drops of mild dish soap, a squeegee (plastic is safer than metal on glass), a lint-free microfiber cloth, and painter’s tape. For the best removable vinyl window decals for renters, confirm the product uses a low-tack adhesive—this type releases cleanly without leaving a sticky film behind. Clean the glass thoroughly with a glass cleaner, then wipe it dry; any residue, grease, or dust creates a bump under the vinyl that traps air.
Step-by-Step: The Wet Application Method
Follow these numbered steps in exact order to achieve a bubble-free finish that protects both your window and your security deposit.
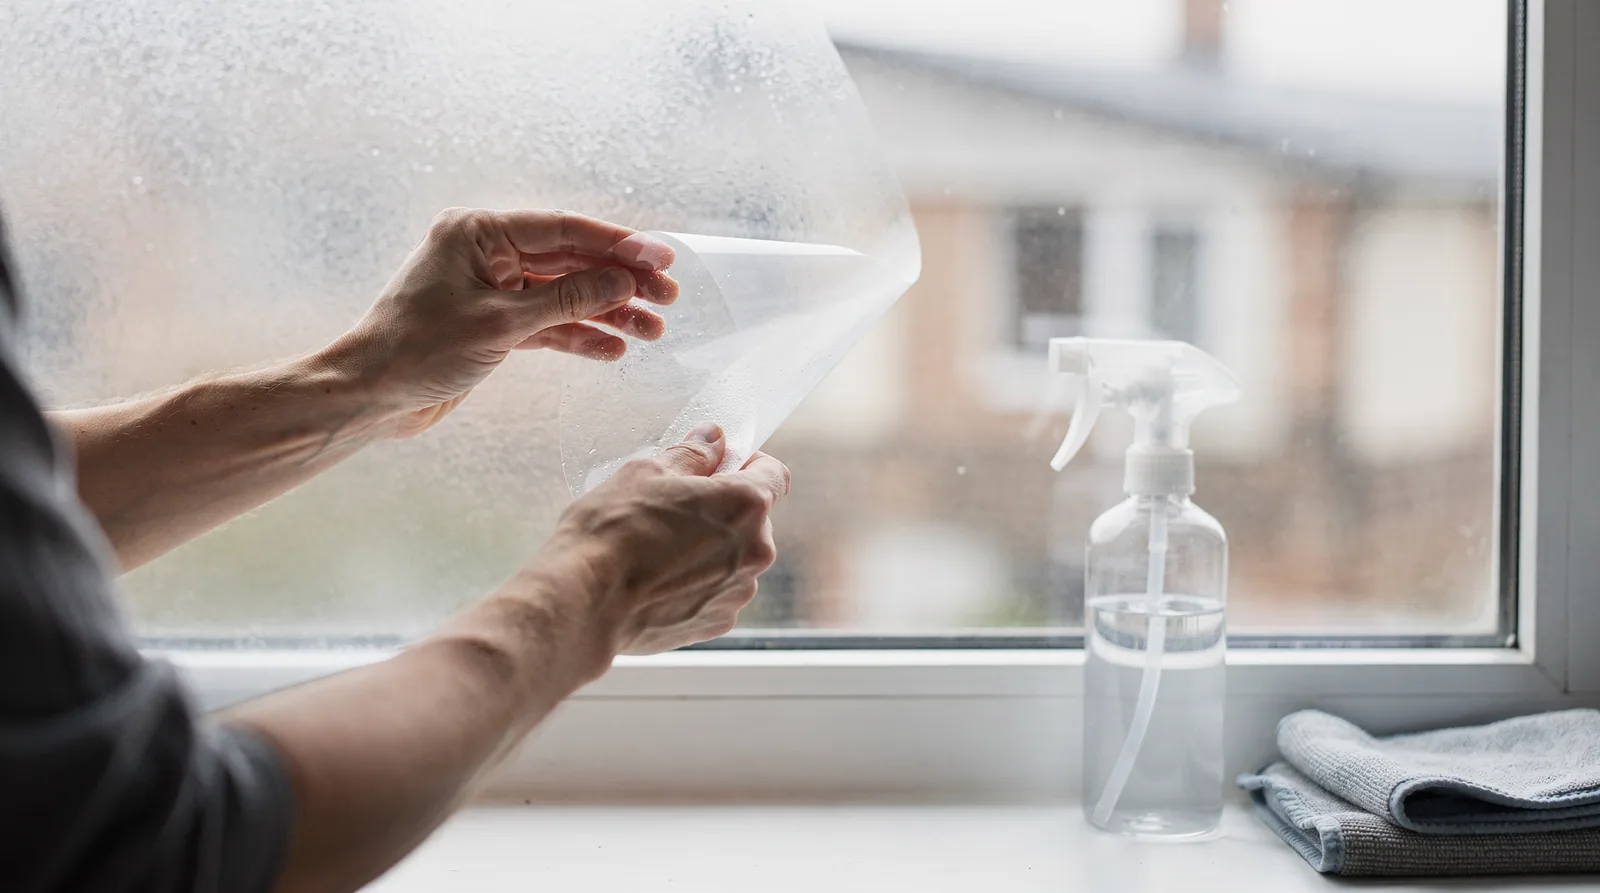
- Mix your application solution. Fill a spray bottle with water and add mild dish soap. Shake gently to combine; this soapy water acts as a lubricant, allowing you to slide the decal into position before the adhesive bonds.
- Spray the glass generously. Mist the entire target area with the soapy solution. The wetter the surface, the longer you have to adjust the decal—professional installers never skip this step because dry glass grabs the adhesive instantly, trapping air.
- Peel the backing paper away from the decal. Hold the decal by its corners, and if it is large, hinge it with painter’s tape along the top edge so it hangs like a curtain. This hinge method lets you elevator and re-position without the vinyl folding onto itself.
- Position the decal on the wet glass. Slide it into your exact spot while the lubricant keeps it mobile. Use a tape measure for symmetry on storefronts, or align it with the window frame for a clean, level look.
- Squeegee from the center outward. Starting at the center of the decal, press the squeegee firmly and push toward the edges in a straight, overlapping motion. This action forces the soapy water and any trapped air out from underneath the vinyl—never push from the edges inward, as that traps bubbles in the middle.
- Wipe away the excess solution. Use a lint-free cloth to absorb the liquid that squeezes out from the edges. Do not rub the decal itself; blot gently to avoid lifting the vinyl’s corners.
- Let the decal cure before touching it. Allow the adhesive to set for at least 24 hours before cleaning the glass or exposing it to heavy moisture. This curing period ensures the vinyl bonds fully, which prevents edges from peeling and residue from forming during removal.
How to Remove Decals Without Leaving Residue
Removal is where most renters lose their damage deposit, but a clean pull starts with patience and heat. Use a hairdryer on a low or medium setting. Hold it 6–8 inches away from the decal, moving it in a circular motion for 30–60 seconds until the vinyl becomes pliable. Elevator a corner with your fingernail or a plastic scraper, then peel the decal back at a 45-degree angle—pulling straight up tears the vinyl and leaves adhesive behind. If any sticky residue remains, apply a small amount of rubbing alcohol or a citrus-based adhesive remover to a cloth and dab the area. The soapy water from your installation actually helps here. It never fully dries under the edges, keeping the adhesive soft. Walls Done Right backs its work with a a notable share delivery rate, ensuring efficient project management and timely completion, and this same precision applies to your DIY installation—measure twice, wet the glass, and squeegee with confidence.
Conclusion
In closing, applying temporary vinyl window decals without bubbles or residue comes down to patience, precision, and proper technique. By following the preparation, application, and removal methods outlined here, you transform your windows into stylish focal points while protecting your surfaces. Whether refreshing seasonal décor or adding functional privacy solutions, these expert practices ensure flawless results that reflect the quality and attention to detail that defines truly done-right spaces.